| Making
Counters
By Paul Aceto
September 2023
I offer below
a method for making
counters from electronic files, using the old downloadable Panzer Grenadier:
Iron Wolves as an
example (that download's no longer available; Lithuania’s Iron Wolves now comes with die-cut counters).
To do it my way, you will need four things:
- Color printer (either your own, or
one at a copy shop/office supply store).
- Mat board (available from Avalanche Press, right here).
- Adhesive-backed label paper (available
from Avalanche Press, right here).
- Strong scissors or a rotary cutter (available on-line or at an office
supply store).
To start, I printed the two Iron
Wolves files, front and back, onto the Avery paper.
For this example, I actually went to Office
Depot with the files on a thumb drive and
asked them to make the copies, using my paper.
Total cost about $1. Their quality was better
than my basic HP printer.
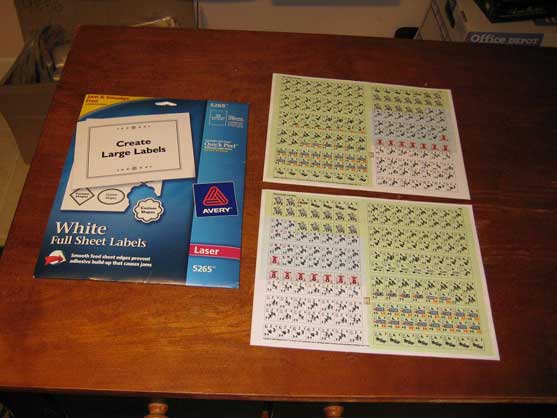
Next, I cut out a piece of the mat board
that was large enough to hold one counter
sheet.
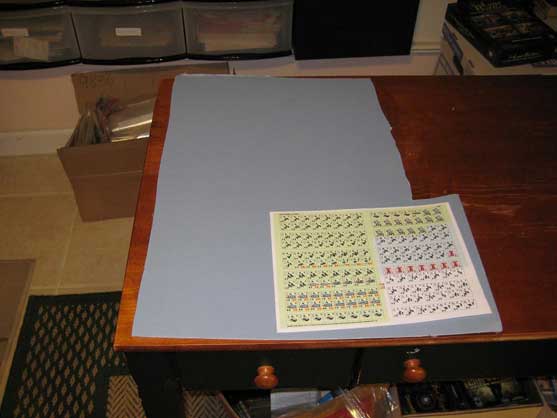
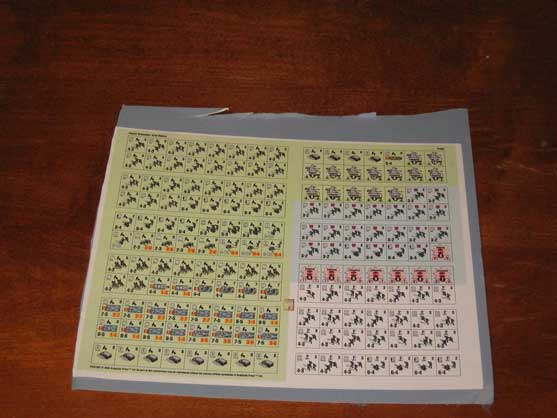
I then peeled off the back of the adhesive
paper, and carefully pressed the counter
sheet down on mat board. That done, I cut
off the edges of the counter sheet with the
rotary cutter.
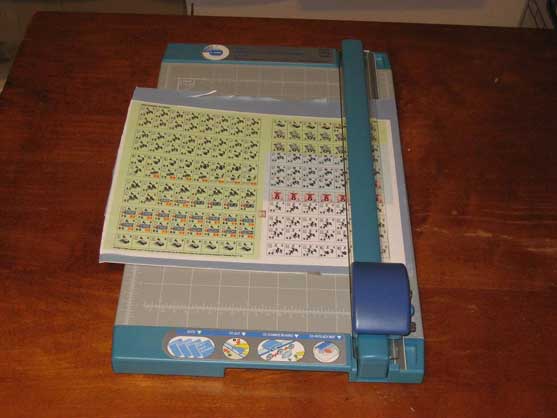
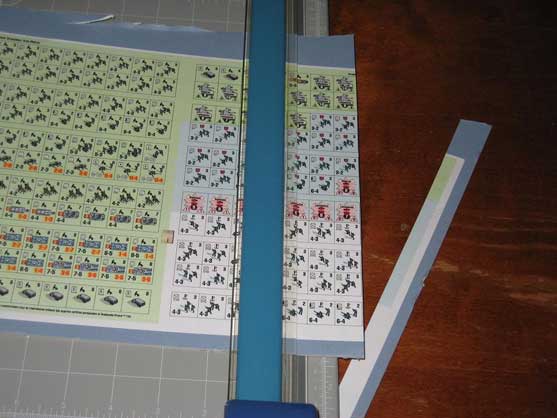
Next, I cut this piece into smaller blocks
before affixing the back-side counters. This
is a key step. It is very hard to get both
sides of double-sided counters to match up
perfectly. This is especially true when you
use label paper, as you will not be able
to massage into place once it is affixed.
By using smaller pieces, you minimize the
potential registration errors with each block.
So I cut mine first vertically, and then
each resulting piece into thirds.
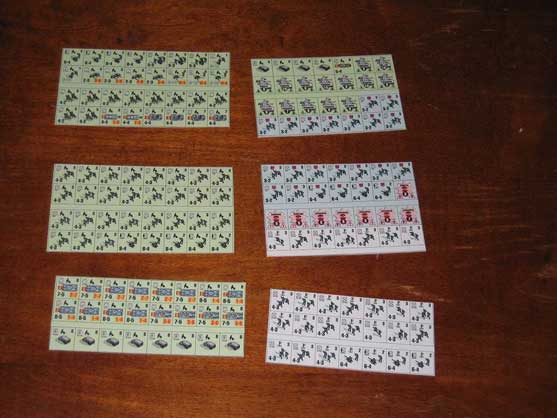
Next, you cut the back-side counter sheet
to match the corresponding blocks.
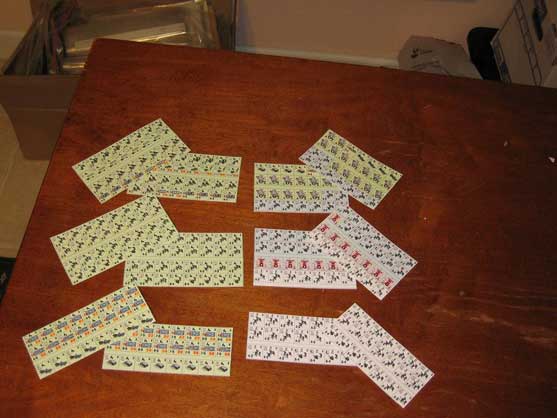
Then you very carefully and slowly affix
each back-side sheet to the mounted block.
I found with the Avery paper, you can remove
the new sheet once if you make a mistake,
but after that the paper starts to curl and
you lose adhesion.
With both sides on, you are ready to start
your final cuts. I do mine in horizontal
strips.
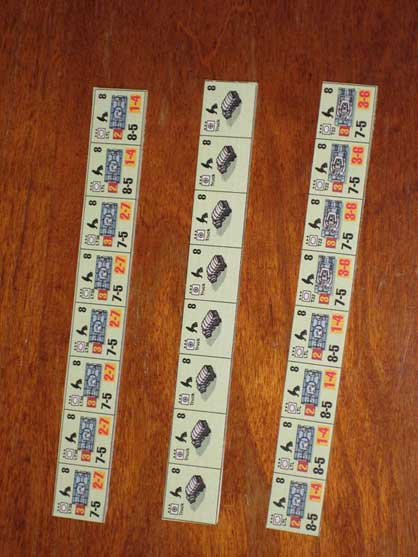
Then you cut each strip into the individual
pieces. You will need a small piece of mat
board from time to press through the rump
end of the strips, when there are only two
units, as it will be completely under the
rotary cutters plastic shield.
Here you see the finished product, both
front and back.
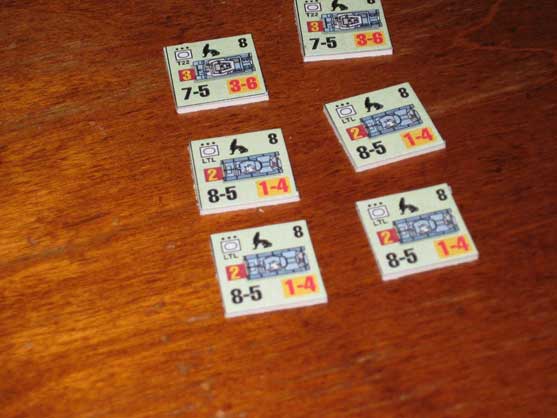
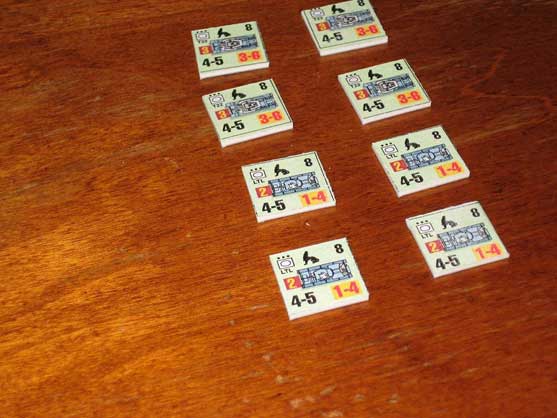
Total time: about 30 minutes.
You can use scissors or an X-acto knife
in place of the rotary cutter. I mount quite
a few counters, so find the cutter a very
worthwhile investment. Also, you can substitute
other types of backing, though after much
trial and error I am now sold on mat board.
The one area I would not change is the Avery
paper. I used to use rubber cement for affixing
the counters, but have found the Avery paper
much better and easier to use. Less stress
on the hands, more consistent adhesion and
no bleed-through.
You can see all of our Print-and-Play titles right here.
Golden Chipboard
 Ten (10) chipboard sheets, slightly thicker than the ones we use for game pieces, for use in pasting up your own counters from our downloadable games and expansions. Ten (10) chipboard sheets, slightly thicker than the ones we use for game pieces, for use in pasting up your own counters from our downloadable games and expansions.
You can order Golden Chipboard right here.
You can order sticky label paper here.
|
