New Zealand Division:
From El Agheila to the Mareth Line
by Mike Bennighof, Ph.D.
November 2022
 By the end of the Alamein campaign, the once-elite 2nd New Zealand Division had become a burnt-out husk of its former self. One of its three brigades, 4 Infantry Brigade, had been overrun and nearly destroyed at Ruweisat Ridge in July 1942, reduced from an authorized strength of just over 2,400 to 350 survivors. By the end of the Alamein campaign, the once-elite 2nd New Zealand Division had become a burnt-out husk of its former self. One of its three brigades, 4 Infantry Brigade, had been overrun and nearly destroyed at Ruweisat Ridge in July 1942, reduced from an authorized strength of just over 2,400 to 350 survivors.
Fielding just two brigades rather than the standard three, the division fought at El Alamein in the autumn of 1942 and took part in the pursuit of Erwin Rommel’s routed German-Italian forces. Four Brigade went back to Egypt for re-organization as an armored brigade. Once the remaining brigades crossed into Libya, they stopped at the Italian-built fortress of Bardia, where one more battalion was detached for the armored brigade, leaving the division with two brigades of three battalions each – the New Zealand division had included 10 rather than the usual nine battalions, with the additional 28th “Maori” Battalion now becoming an integral part of 5 Brigade.
All of the remaining battalions, including support and service units, had been ground down well below their authorized strength. Replacement drafts had not arrived since late 1941, as the New Zealand government withheld its newly-trained men to repel a potential Japanese invasion. But as that likelihood faded with Allied victories in the South Pacific, the civilian government now had to re-consider its commitment to the war in Europe and the Middle East. Should they request that their division be returned, for deployment closer to home, or should they leave the division in North Africa and replenish its losses, as well as dispatch the tank crews who had been training since October 1941?
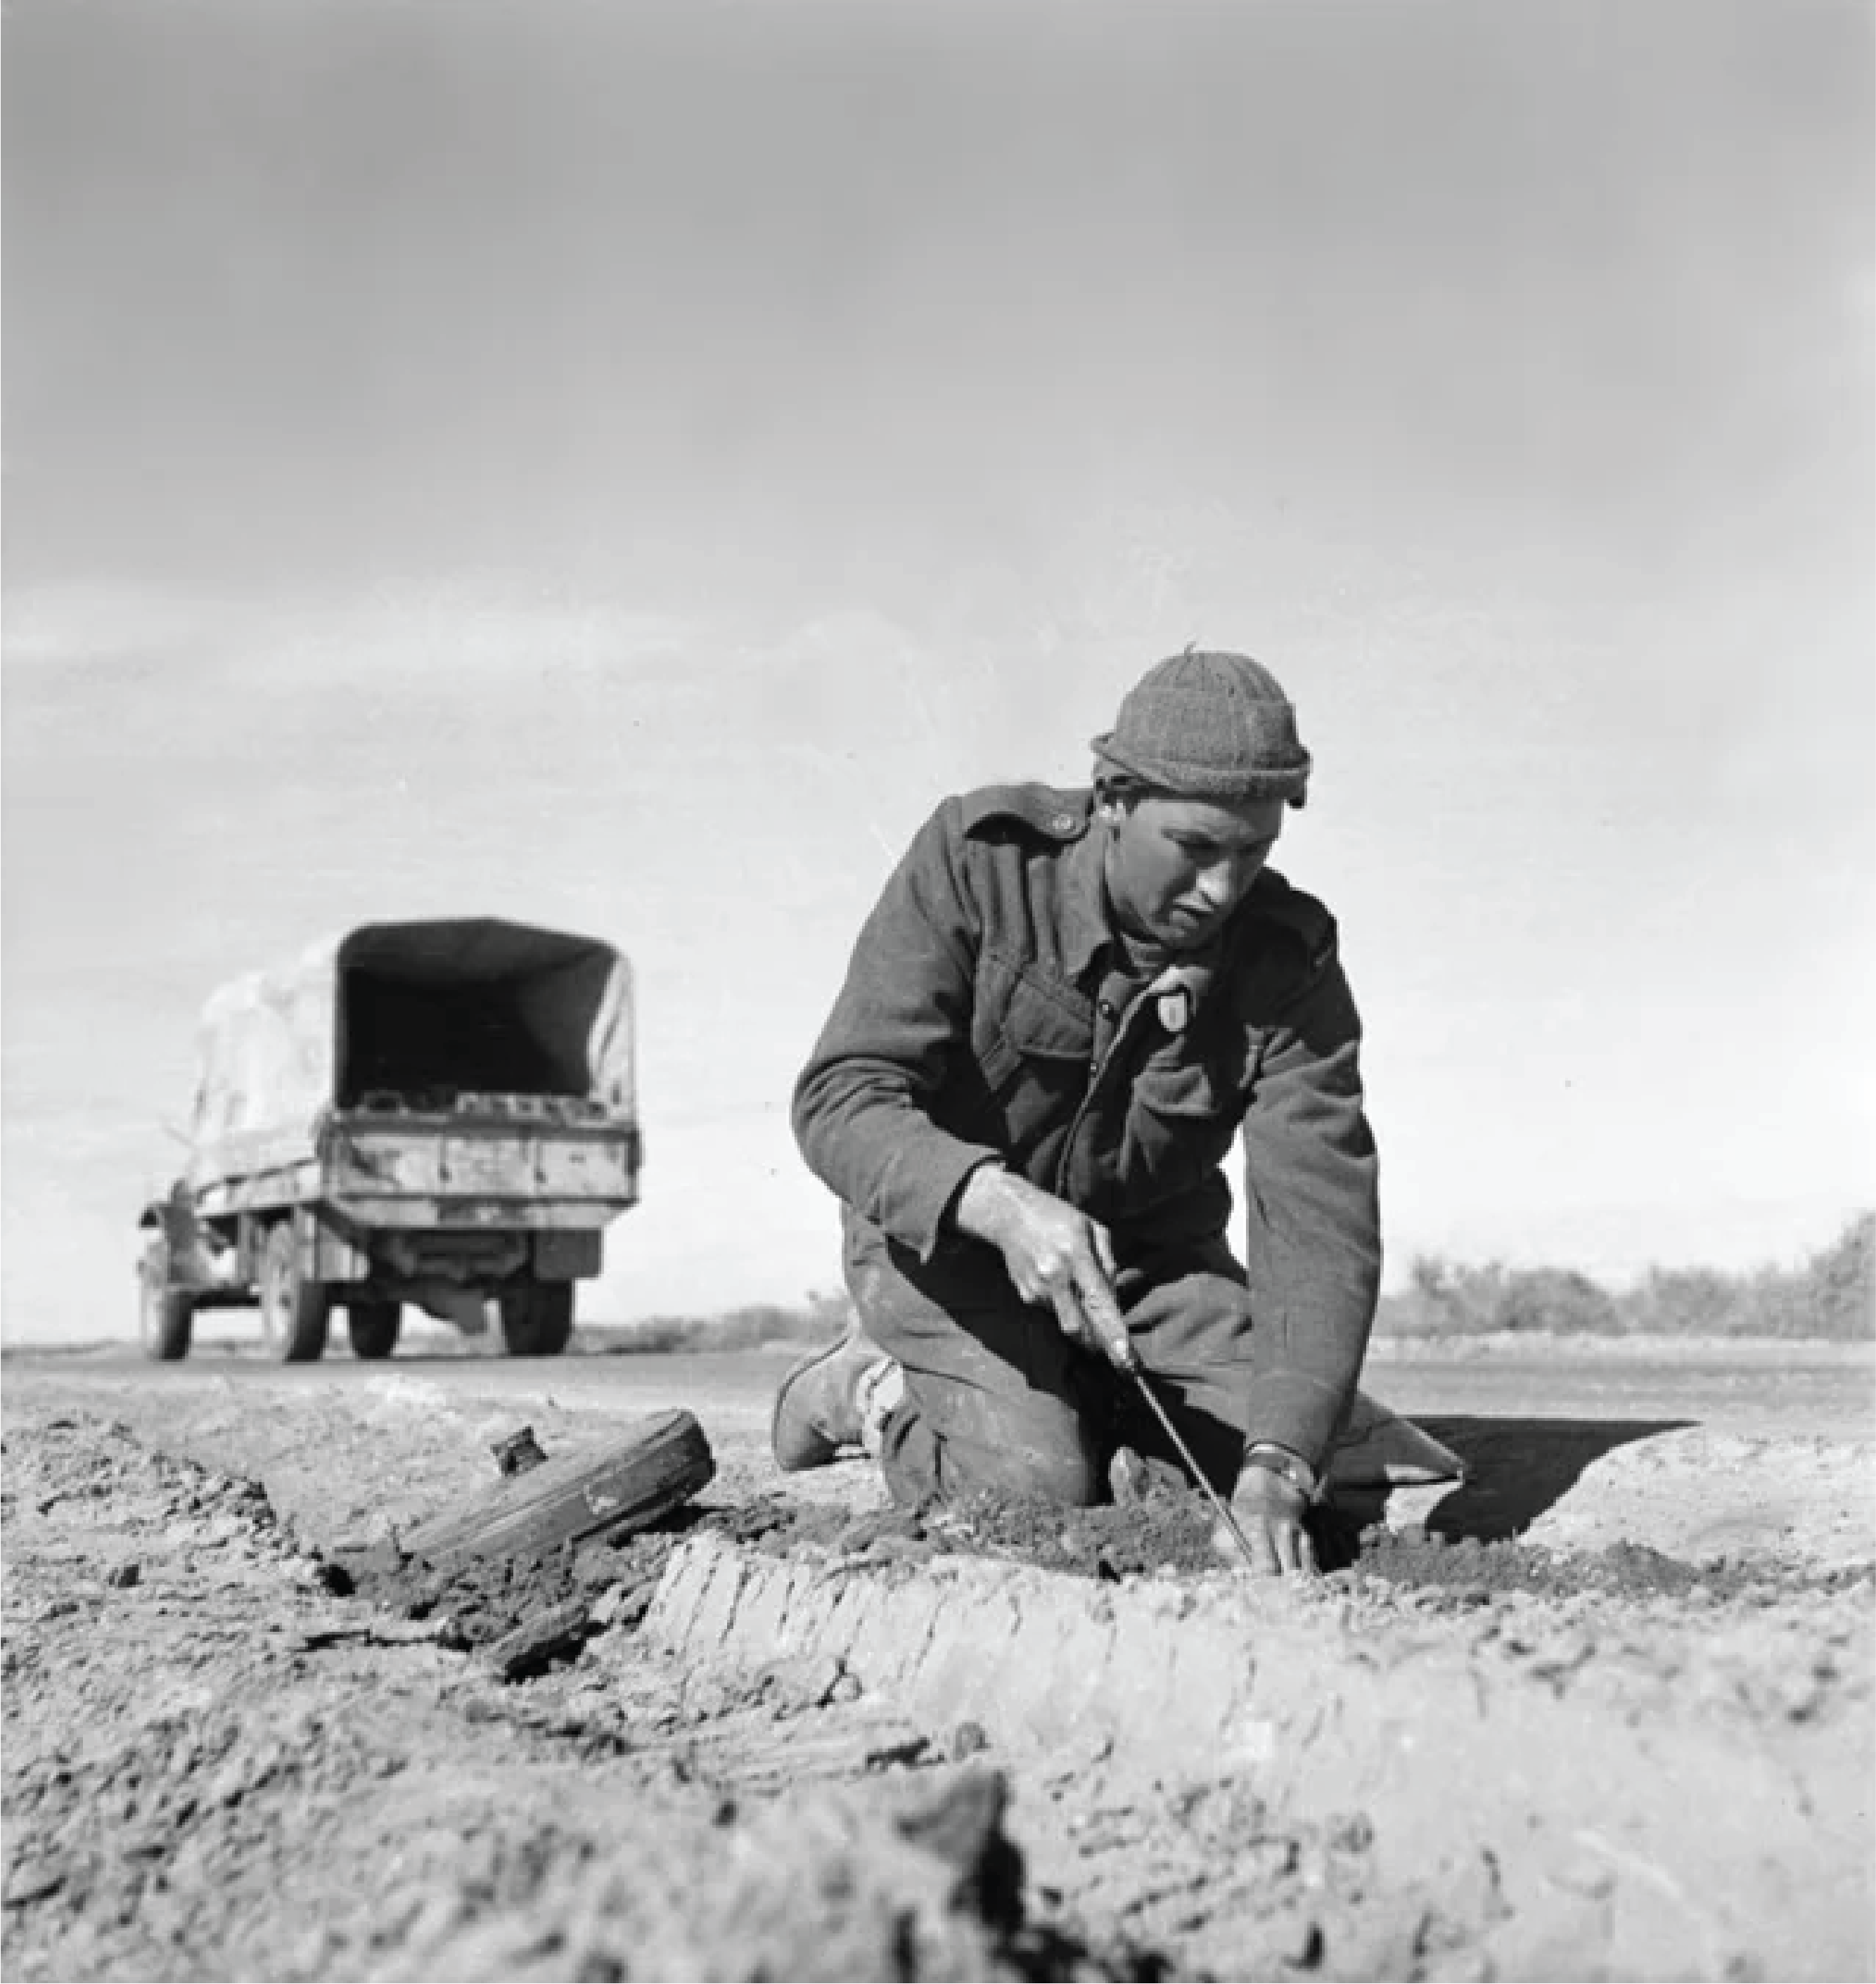
A New Zealand engineer clears mines the hard way near Tripoli, January 1943.
While the government pondered this question – one which weighed heavily on every aspect of New Zealand society, as well as the nation’s future – the troops in Libya rested and played sports from mid-November through early December. Finally, on 4 December the New Zealand government informed London that they would keep their division in North Africa, dispatch a huge replacement draft of 5,500 men to replenish its ranks, and also send the personnel of 1st New Zealand Army Tank Brigade to convert the remnants of 4 Brigade into an armored unit.
While the division awaited the decision, its commander Bernard Freyburg and his staff undertook some re-organization, attaching artillery, anti-tank, machine-gun, engineer, medical and transport elements directly to the two brigade commands to form combined-arms brigade groups. With only two brigades in the division, Freyburg believed that it made less sense to concentrate those abilities at the division level.
The New Zealanders moved out on the morning of 4 December, to participate in the Allied attack on the Axis blocking position at El Agheila. At the southernmost point of the Gulf of Sirte dividing the two halves of Libya (Cyrenaica to the east and Tripolitania to the west), El Agheila was a natural choke point between the impassable desert to the south and the sea to the north. It previously had marked the western limit of Allied advances, having fallen to the British in February 1941.
Eighth Army commander Bernard Montgomery planned a frontal attack on the Axis position beginning on 12 December, while the New Zealanders swept around the enemy’s right flank. The Allied movement began even as the Axis withdrew; a German armored attack against the advancing New Zealanders collapsed before it began due to a lack of fuel. The Axis broke contact fairly easily, thanks to heavy fog coating the area and extensive minefields they had laid in front of their positions.

New Zealand engineers repair the port of Tripoli, February 1943.
The New Zealanders fought a brief but sharp action with several German units on 17 and 18 December around Nofilia, west of El Agheila, but once again the Axis ultimately slipped away to set up a new defense line at Buerat east of Tripoli, the last major port left in Italian-controlled Libya. Montgomery spent the next month assembling supplies for a set-piece attack on the Axis position, which had to be trucked over 600 miles from Tobruk in eastern Libya over rough and rocky roads that played hell with the vehicles. Each truck could only carry a partial load, since it also had to carry extra fuel to make the round trip.
While Montgomery would earn a reputation as an overly cautious commander, he made rather daring arrangements for the attack on Buerat. The New Zealanders would spearhead a three-division attack, with all of Eight Army’s other divisions idled so that their transport could be stripped to supply the front-line units. Rommel had strict orders to hold at Buerat and defend Tripoli; he withdrew into the French colony of Tunisia instead. The New Zealanders led the Allied advance, starting on 14 January 1943 with Tripoli falling unopposed nine days later.
Two British divisions, 51st Highland Infantry and 7th Armoured, took over the advance from Tripoli into Tunisia. By late February they had resumed contact with the German-Italian forces, now occupying the French-built fortifications of the Mareth Line. Concerned that his lead divisions were over-extended and vulnerable to an enemy spoiling attack, Montgomery ordered more units forward from Tripoli on the last day of February, including 2nd New Zealand Division.
By 3 March the division was in position around Medinine in southern Tunisia, just under 300 kilometers to the west. Five Brigade occupied an arc around the town, with 4th Light Armoured Brigade covering its otherwise open left flank and 7th Armoured Division on its right. Six Brigade stood close behind in support.
As Allied singal intercepts predicted, the Axis attacked on 6 March. Rommel hoped to set the Allies off-balance with a series of spoiling attacks starting in mid-February, and then evacuate Tunisia in the breathing space hopefully gained. Germany’s Supreme Leader accepted the first part of the plan, but gave no opinion on the second.
The first major action for the Kiwis since the Battle of Alamein four months earlier opened with a heavy artillery barrage followed by tanks of 10th Panzer Division supported by infantry from 164th Light Afrika Division. Despite the heavy fog, New Zealand anti-tank gunners shot up the German advance, and the infantry drove off some half-hearted attempts by German infantry to advance. The New Zealanders for the first time deployed a captured battery of German 88mm flak guns in the anti-tank role, but the Germans didn’t attack in their sector.

Lieutenant Te Moananui-a-Kiwa Ngārimu won a posthumous Victoria Cross at Point 209 in the Tebaga Gap. Ngārimu, already wounded, charged the Germans atop the ridge, tossing grenades and firing his submachine gun. When he ran out of grenades, he lobbed rocks as though he had still more explosives, driving the enemy into the open where he could shoot them. But German fire eventually cut him down. |
The German Operation Capri had been a dismal failure for all three panzer divisions involved, and Rommel pulled his troops back into the Mareth Line. This defeat would be his last battle in Africa; he left the next day, never to return.
The Mareth Line fortifications only extended from the coastline westwards into the Jebel Dahar mountains, as the designers believed that motor vehicles couldn’t pass through the rough terrain. But Gen. Georges Catroux, Free French governor of Algeria, had commanded the XIX Corps in Tunisia while the line was built and suggested that the now-common four-wheel drive vehicles could indeed pass through the Tebaga Gap to the west of the fortified line. That gambit would be the basis of Montgomery’s Operation Pugilist. The British XXX Corps would make a frontal attack on the Mareth Line. Meanwhile the 2nd New Zealand Division, reinforced with 8th Armoured Brigade, additional artillery and a brigade-sized Free French force (including a handful of Free Greeks), made a flanking move through Tebaga Gap.
This “New Zealand Corps” operated as a reinforced division, but Montgomery attached additional staff officers from the idle X Corps headquarters which only added extra layers of confusion to operations. The advance began on the evening of 19 March, and proceeded slowly through the rough ground until encountering resistance late on the 21st. The German 21st Panzer and 164th Light Afrika Divisions held off the Kiwi advance, and with the element of surprise thoroughly lost, Montgomery decided to reinforce the New Zealanders with 1st Armoured Division and try again.
Operation Supercharge II kicked off on the evening of the 26th, following a large-scale (by the standards of the North African campaign) artillery and air bombardment. The Kiwis attacked with both of their brigades, side-by-side, and by the time darkness fell the New Zealanders had their breakthrough. When the moon rose a few hours later, 1st Armoured Division passed through their lines and drove deeply into the Axis rear areas. When morning came the New Zealand infantry and British armor fended off a counter-attack by the 15th Panzer Division. The tank advance ran into heavy resistance, and rather than join them the New Zealanders veered off to the right toward the Mediterranean coast at Gabes, a move that would isolate the Italian First Army formations holding the Mareth Line.
First Army’s commander, Giovanni Messe, conducted a skillful retreat, extracting all of his formations before the Kiwis could close the encirclement. The Axis forces lost over 7,000 prisoners (about a third of them German). The Italian 80th “La Spezia” Air-Landing Division lost half of its strength, while the German 164th Light Afrika Division abandoned almost all of its vehicles and heavy weapons in the only panicked retreat of the withdrawal.
With the Mareth Line broken, the campaign entered a new phase. The Eighth Army could now link up in a common front wit the British First Army and U.S. II Corps to drive the Axis out of Africa.
You can order New Zealand Division right here.
Sign up for our newsletter right here. Your info will never be sold or transferred; we'll just use it to update you on new games and new offers.
Mike Bennighof is president of Avalanche Press and holds a doctorate in history from Emory University. A Fulbright Scholar and NASA Journalist in Space finalist, he has published an unknowable number of books, games and articles on historical subjects.
He lives in Birmingham, Alabama with his wife, three children and his new puppy. He will never forget his dog, Leopold. Leopold knew the number.
Want to keep Daily Content free of third-party ads? You can send us some love (and cash) through this link right here.
|